
Varun Rawat, March 16, 2023
It is a best practice of marketers and site owners to measure and analyse the performance of their content. Though Adobe Analytics is easily part of the Adobe Experience Cloud and easily used for measuring AEM Site activities for example, often marketers will want to use third measurement and marketing tools. Fortunately, these integrations are made easy with AEP Launch.
What is AEP Launch?
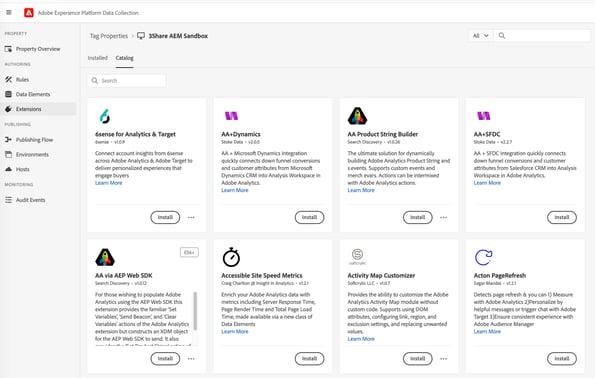
Adobe Experience Platform (AEP) Launch is a tag management system that allows marketers and developers to manage the deployment of marketing and analytics tags on their websites or app. With AEP Launch, users can easily add and remove tags, track events, and gather data about user behaviour without coding or IT involvement. AEP Launch extension is a reusable code snippet enabling users to integrate with third-party tools. Some examples include Google Analytics, Adobe Target, and Facebook Pixel.
Prerequisites
- Basic understanding of AEP launch
- Install Node.js on your computer
- Client ID for botpress chatbot https://botpress.com/docs/cloud/channels/webchat
Project Setup for Extension development
The scaffolding tool builds out the initial file structure of an extension quickly and easily. It will ask questions and build appropriate files according to the responses.
Please run the scaffolding tool by executing the following command within your project’s code directory:
npx @adobe/reactor-scaffold

The above command will build the following code structure:
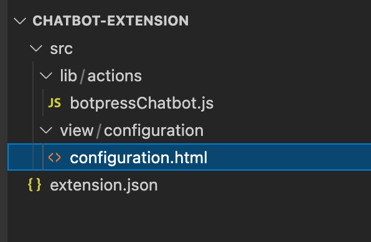
botpressChatbot.js acts as the script for the action type.
For more details about Action types: https://experienceleague.adobe.com/docs/experience-platform/tags/extension-dev/web/action-types.html?lang=en
configuration.html acts as a view allowing a user to supply settings.
In our case, the settings will be Botpress ClientId.
Coding for Extension development
Step 1: Update Configuration .html
<!doctype html>

<html lang="en">

<head>

  <meta charset="UTF-8">

  <title>Botpress Chat Configuration</title>

  <style>

    input:invalid {

      border: 1px solid red;

    }

  </style>

</head>

<body>

    <label>

        Client ID <input id="clientId" minlength="12" maxlength="48">

    </label>

    <script src="https://assets.adobedtm.com/activation/reactor/extensionbridge/extensionbridge.min.js"></script>

    <script>

      var clientIdInput = document.querySelector('#clientId');

      window.extensionBridge.register({

        init: function(info) {

          if (info.settings) {

            clientIdInput.value = info.settings.clientId;

          }

        },


        getSettings: function() {

          return {

            clientId: clientIdInput.value,

          }
        },

        validate: function() {

          return clientIdInput.checkValidity();

        }

      });

    </script>

</body>

</html>
Step 2: Update botpressChatbot.js
'use strict';
var loadScript = require('@adobe/reactor-load-script');
var url = 'https://cdn.botpress.cloud/webchat/v0/inject.js';
var loadChatBot;
module.exports = function(settings) {
    loadChatBot = loadChatBot || loadScript(url)
        .then(function() {
        var chatScriptUrl = 'https://mediafiles.botpress.cloud/' + turbine.getExtensionSettings().clientId + '/webchat/config.js';
        loadScript(chatScriptUrl);
      });
};
Running Local Sandbox
Run the sandbox by executing the following command from the command line within your project's directory:
npx @adobe/reactor-sandbox

Note: Sandbox view will be different from the actual AEP Launch.
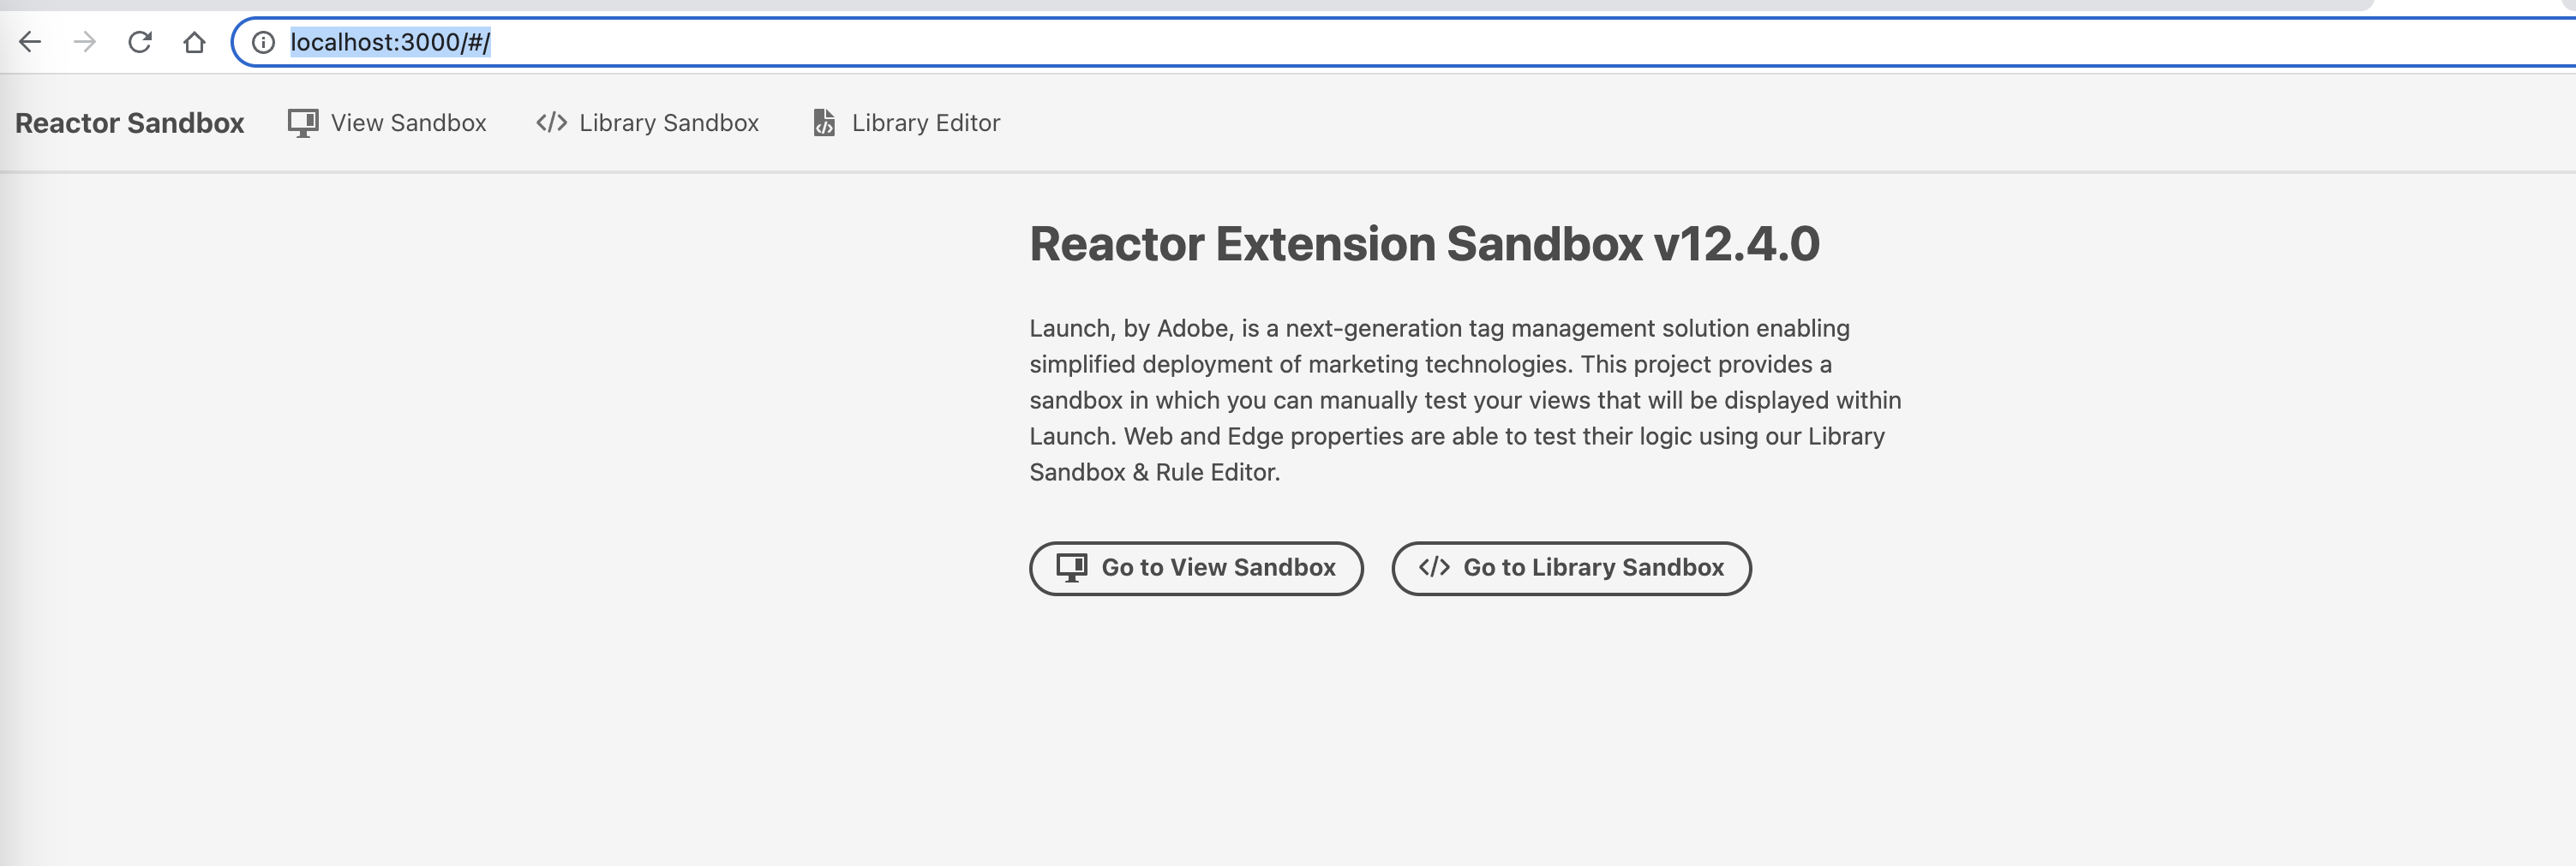
The server will start at http://localhost:3000 & https://localhost:4000/
Navigate to one of the addresses in your web browser.
Testing the Botpress Chat extension in the sandbox
Step1: Click on View Sandbox (http://localhost:3000/) will open the Extension configuration allowing you to configure the settings for your extension.
For more details refer to: https://experienceleague.adobe.com/docs/experience-platform/tags/extension-dev/configuration.html?lang=en
Step 2: Click on Library Editor will open the view for configuring the Rule.

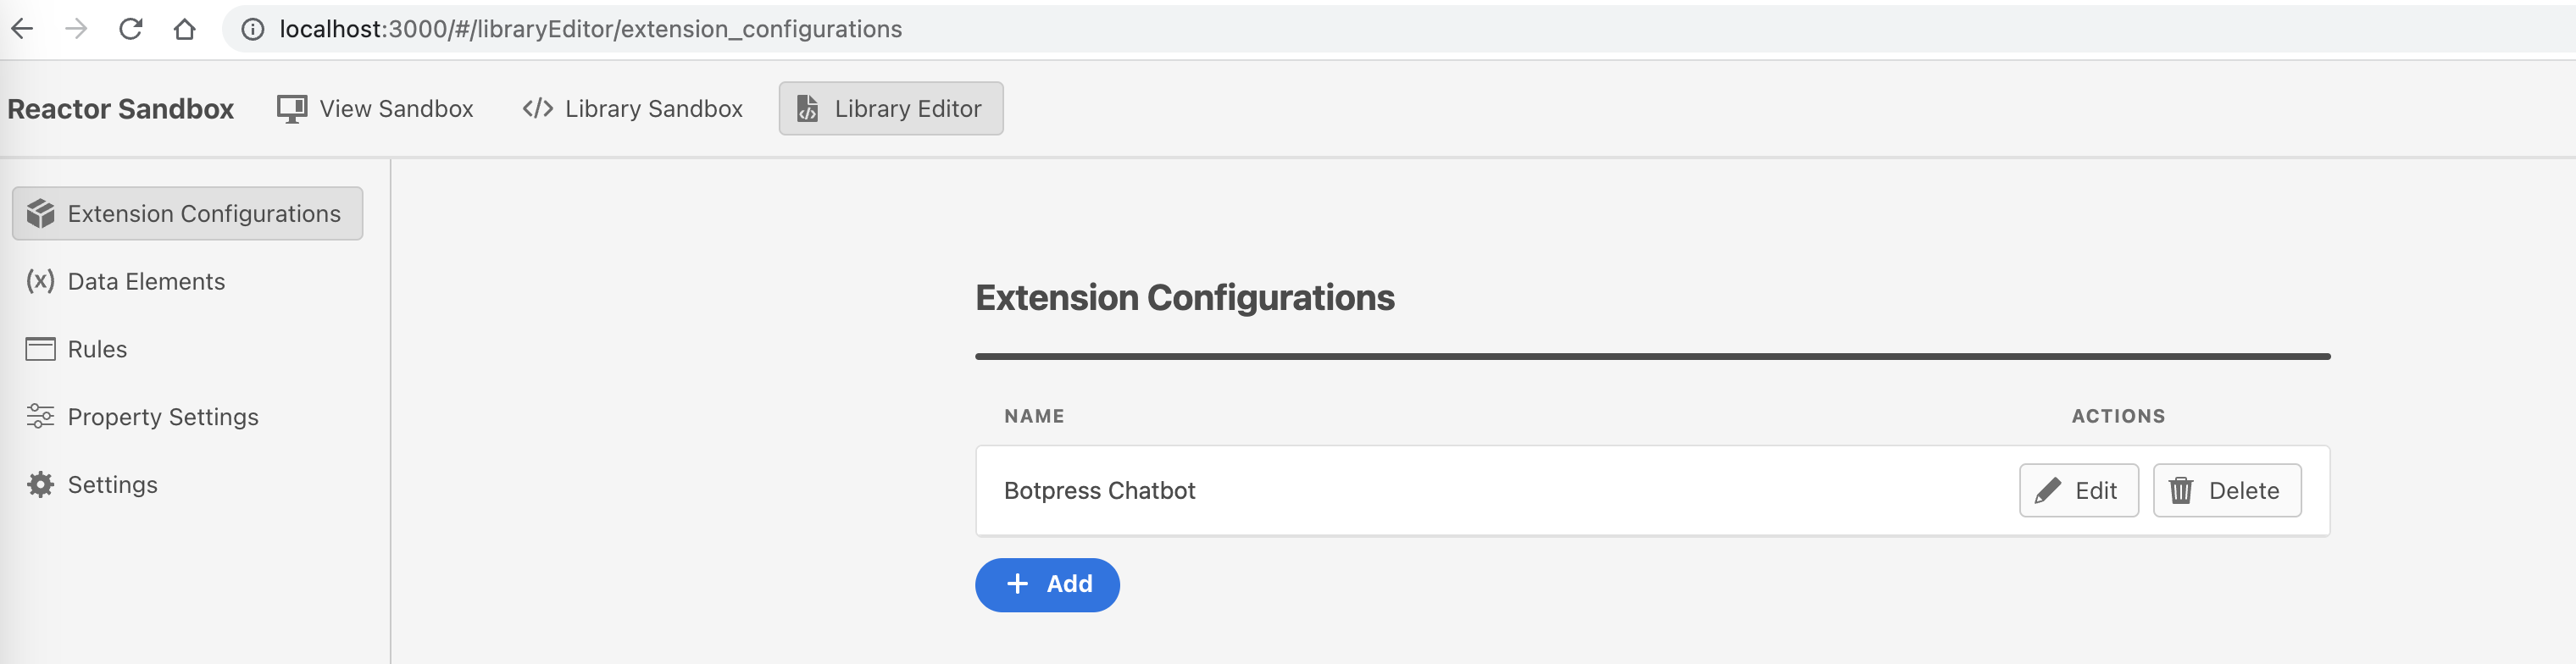
Step 3: Click on Add will open the dropdown.
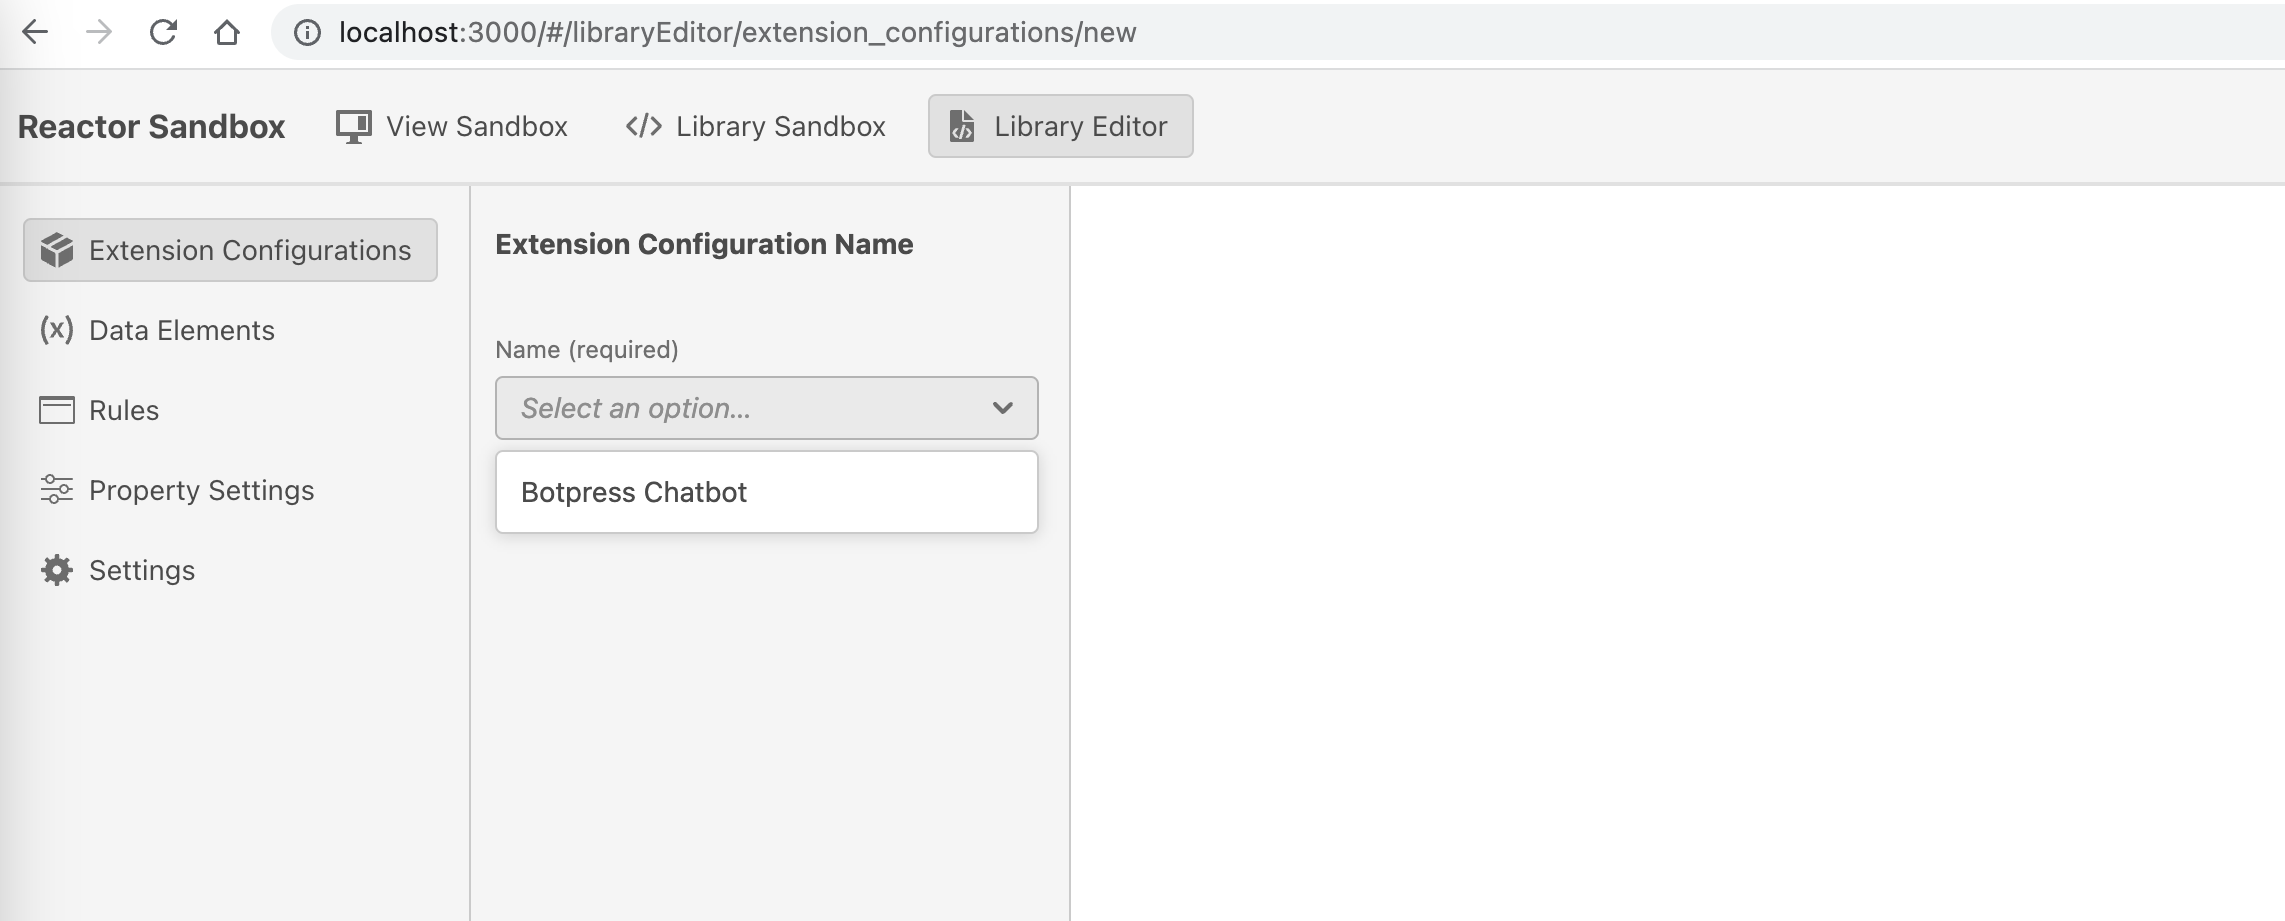
Step 4: Choose your Botpress Chatbot extension and add the Botpress Client ID.
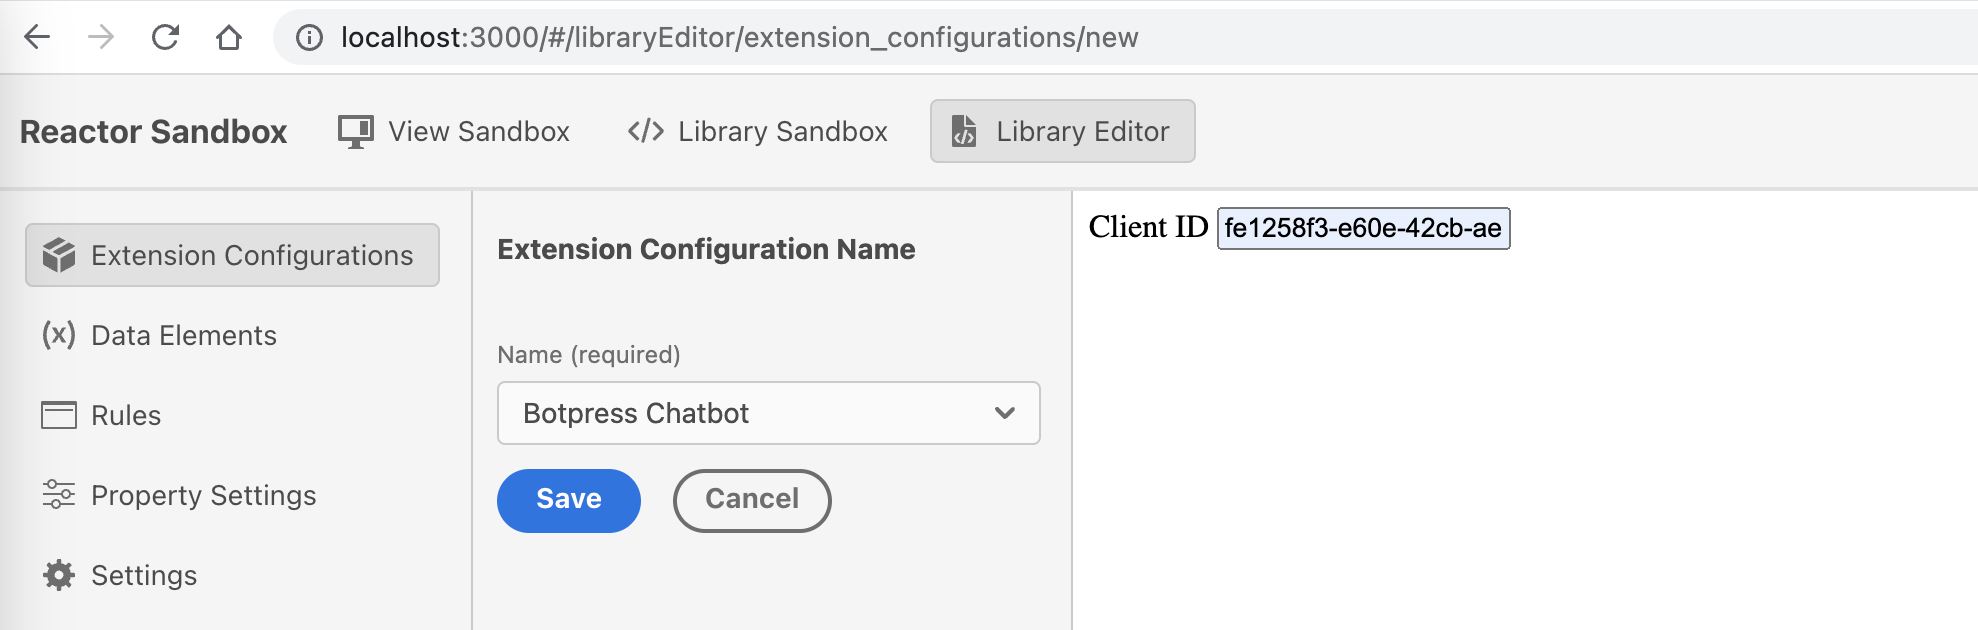
Step 5: Click Save
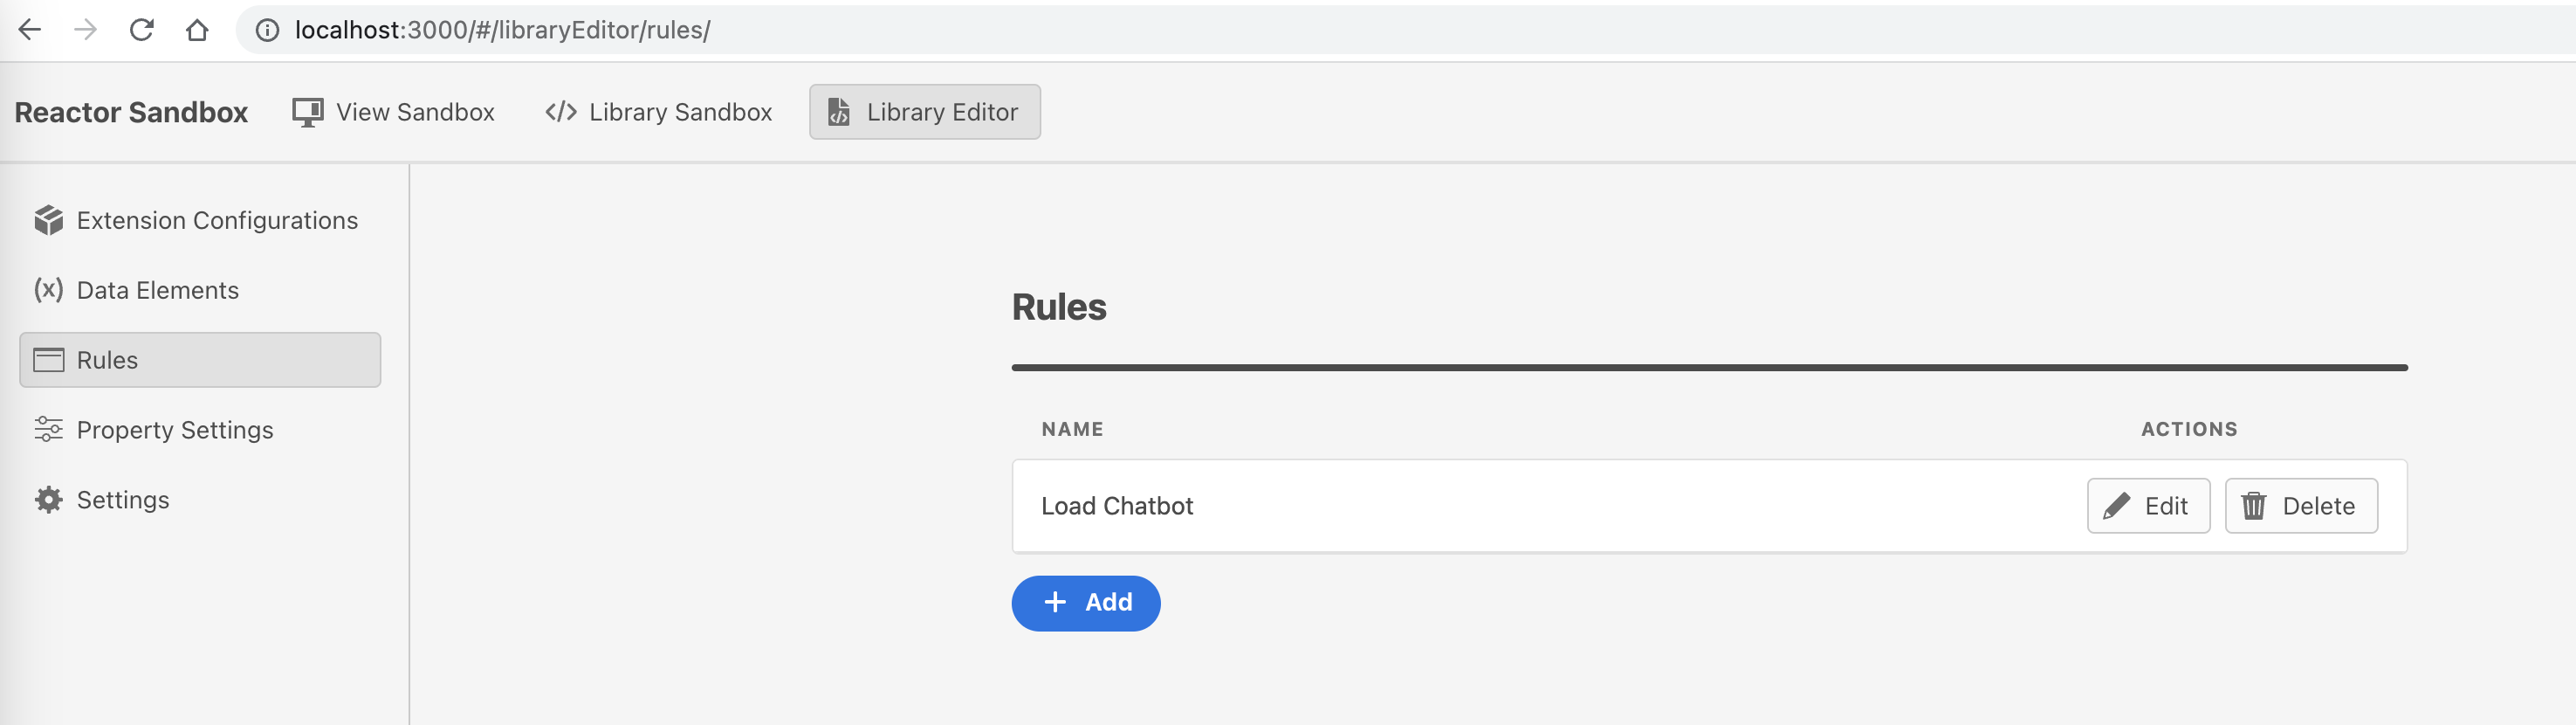
Step 6: Click Rules
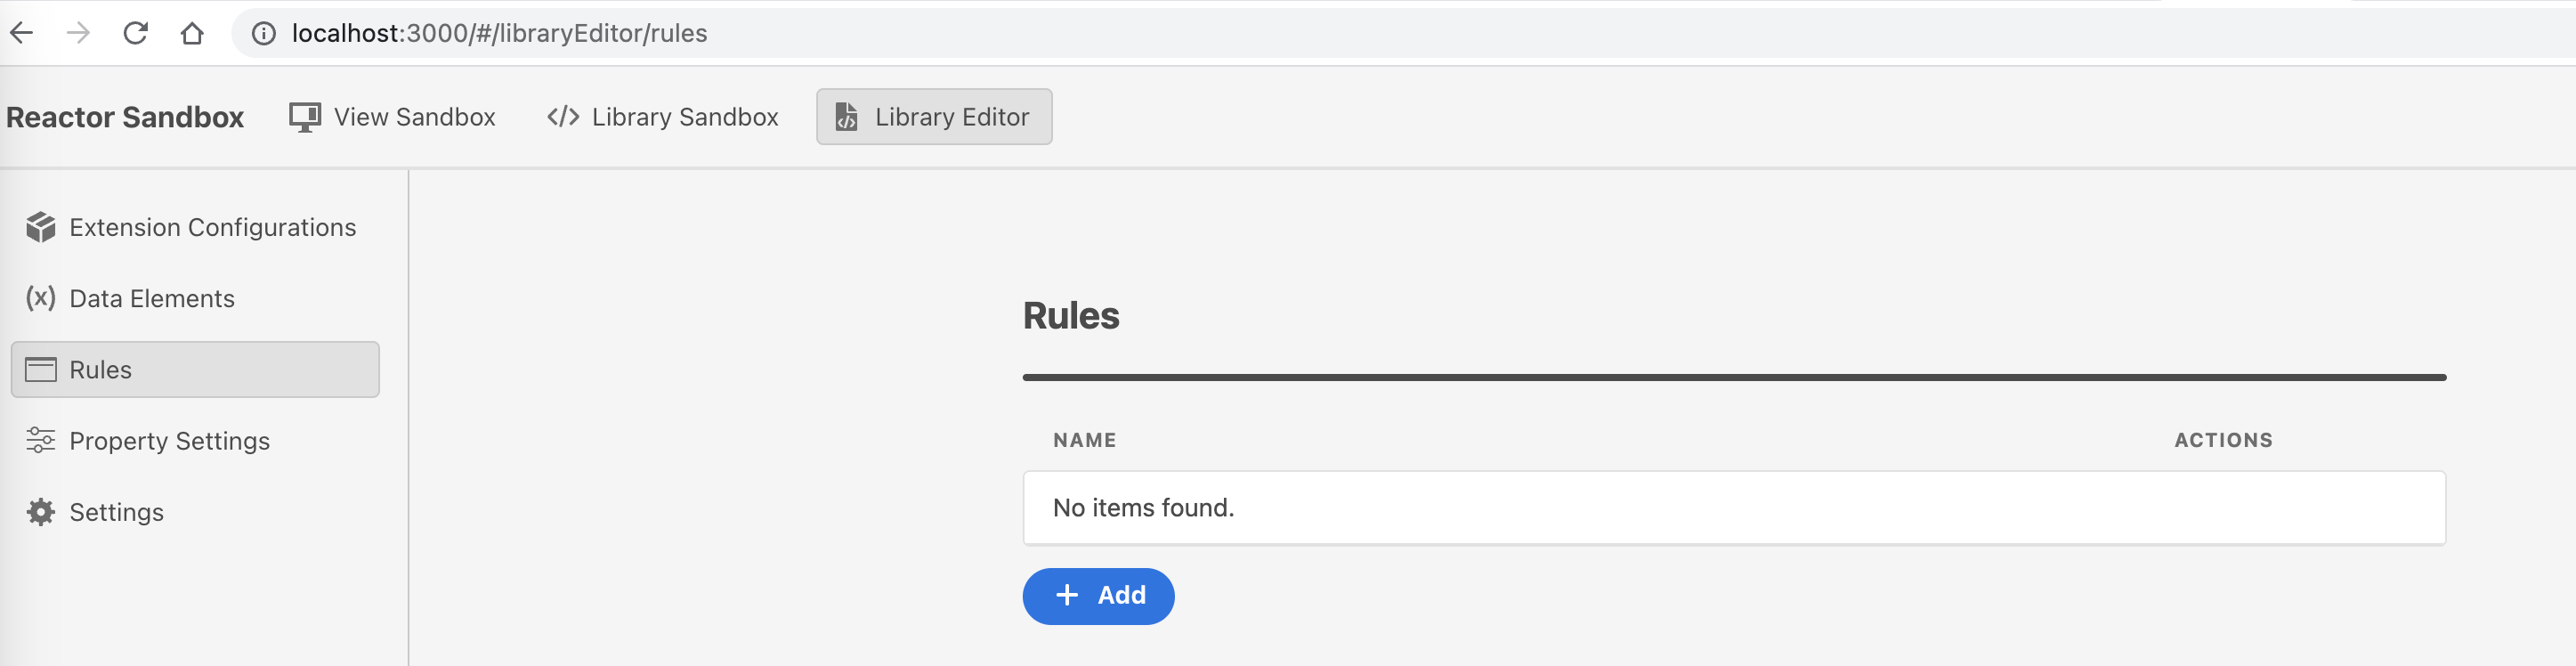
Step 7: Click Add
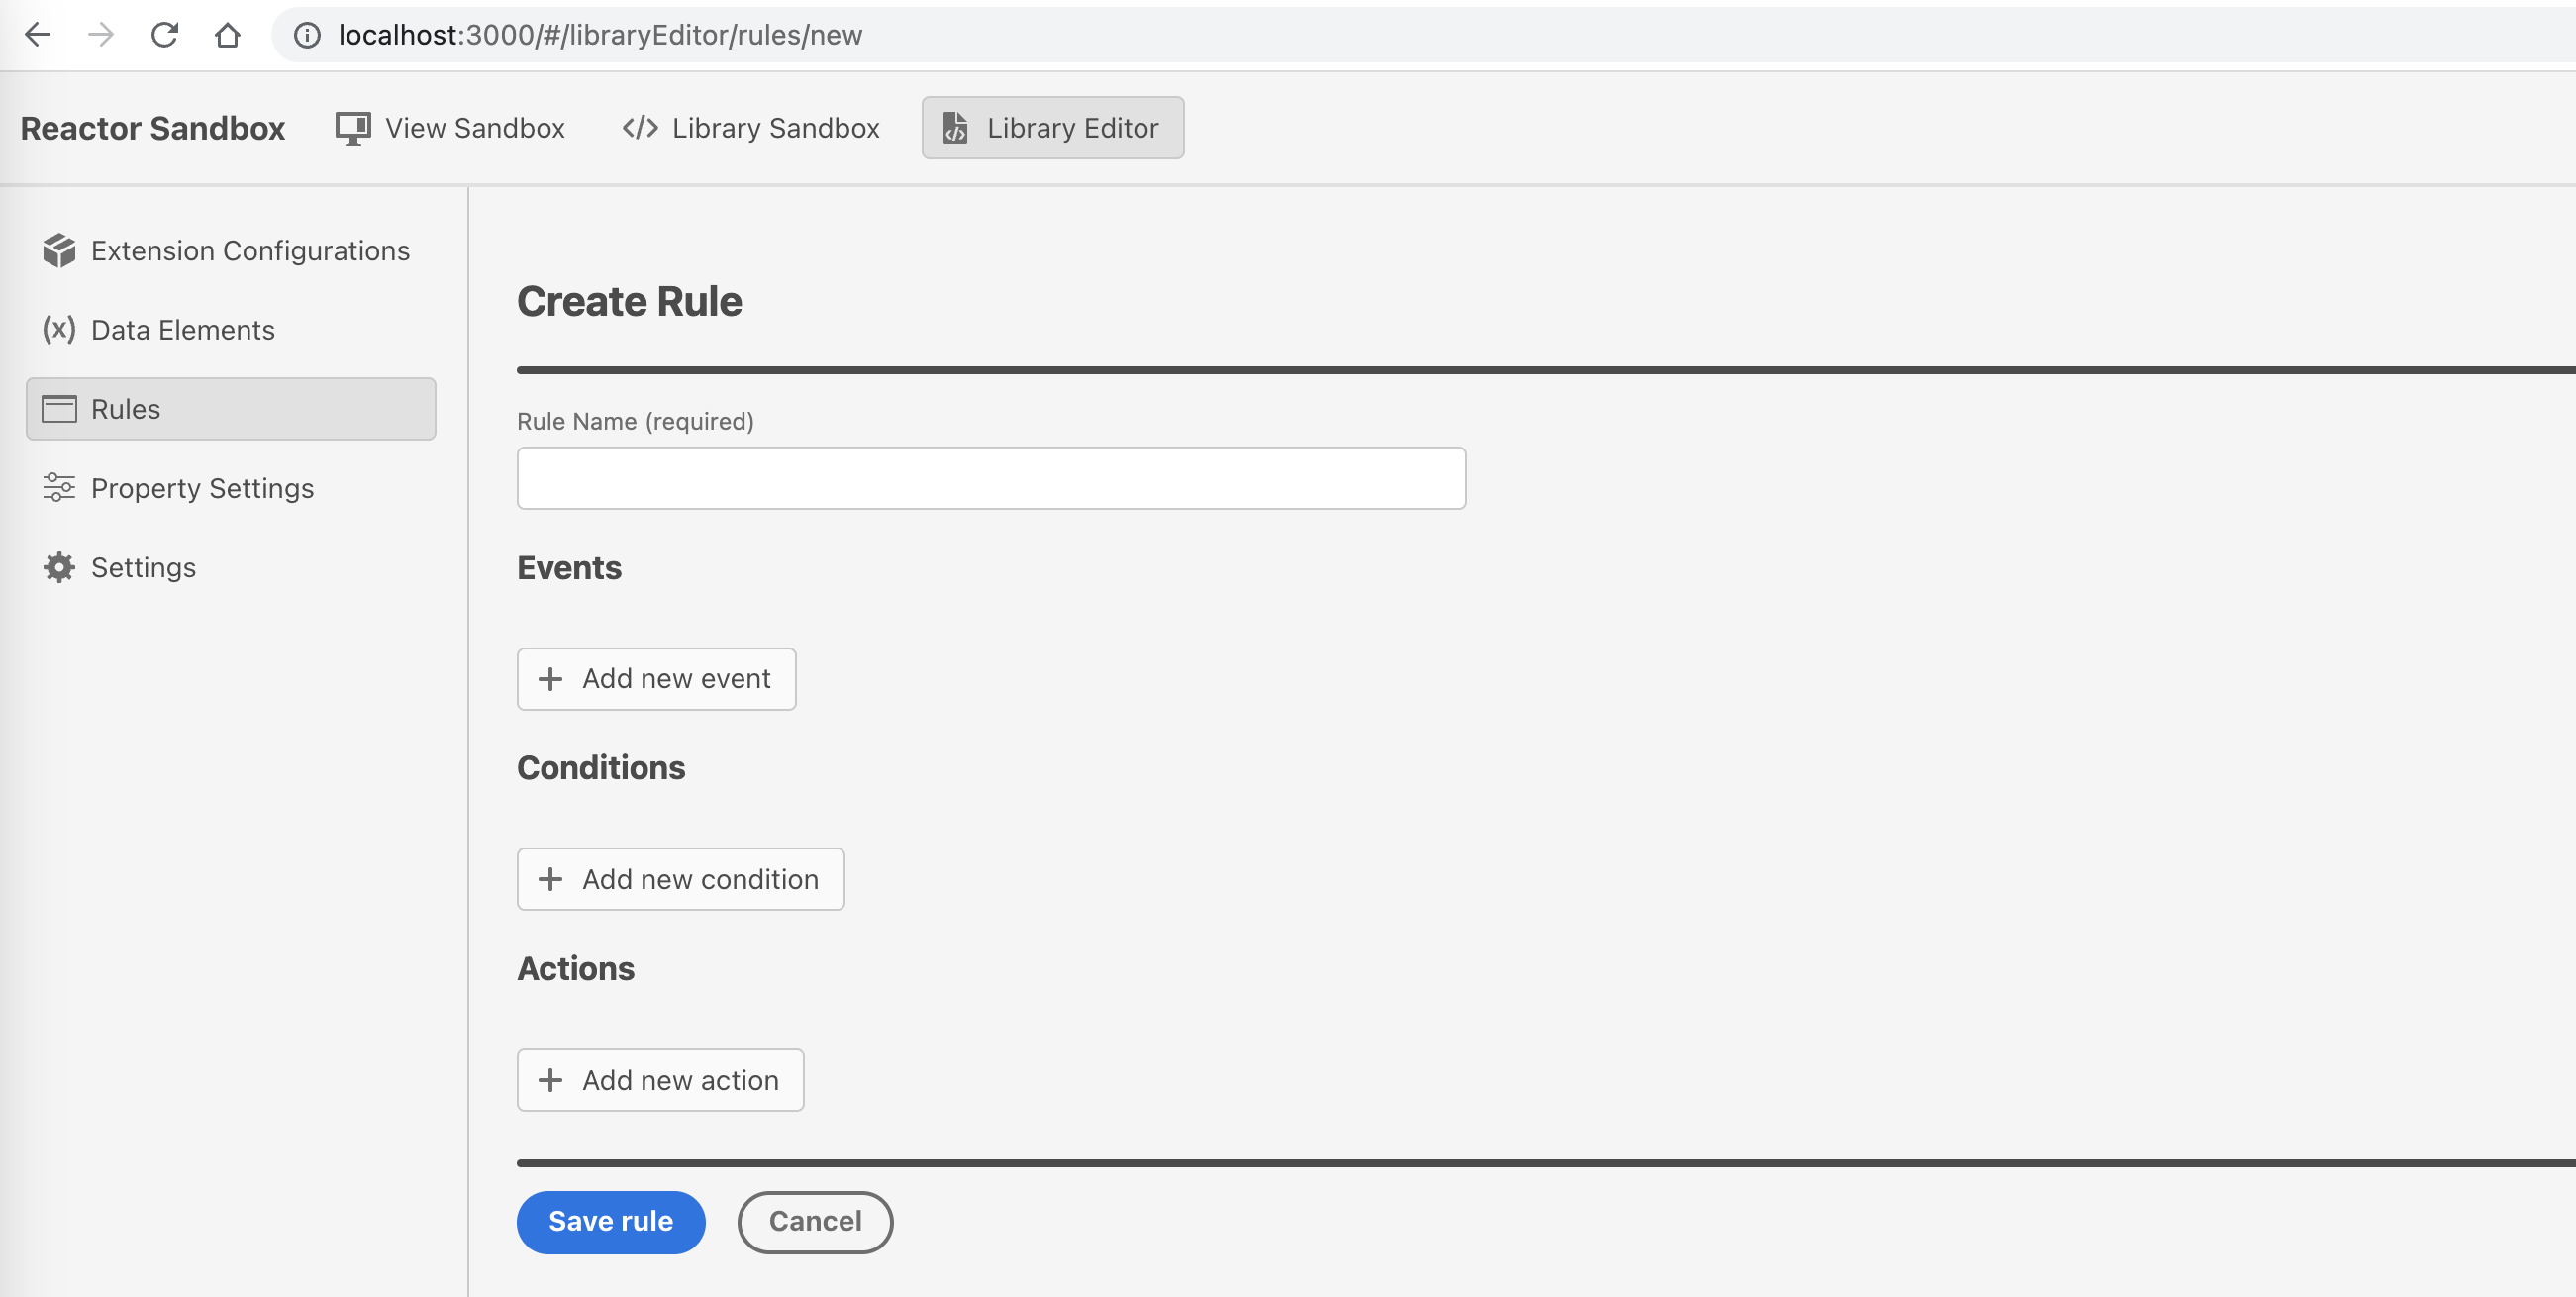
Step 8: Add Rule name, choose Page Top Event and Botpress Chatbot Actions
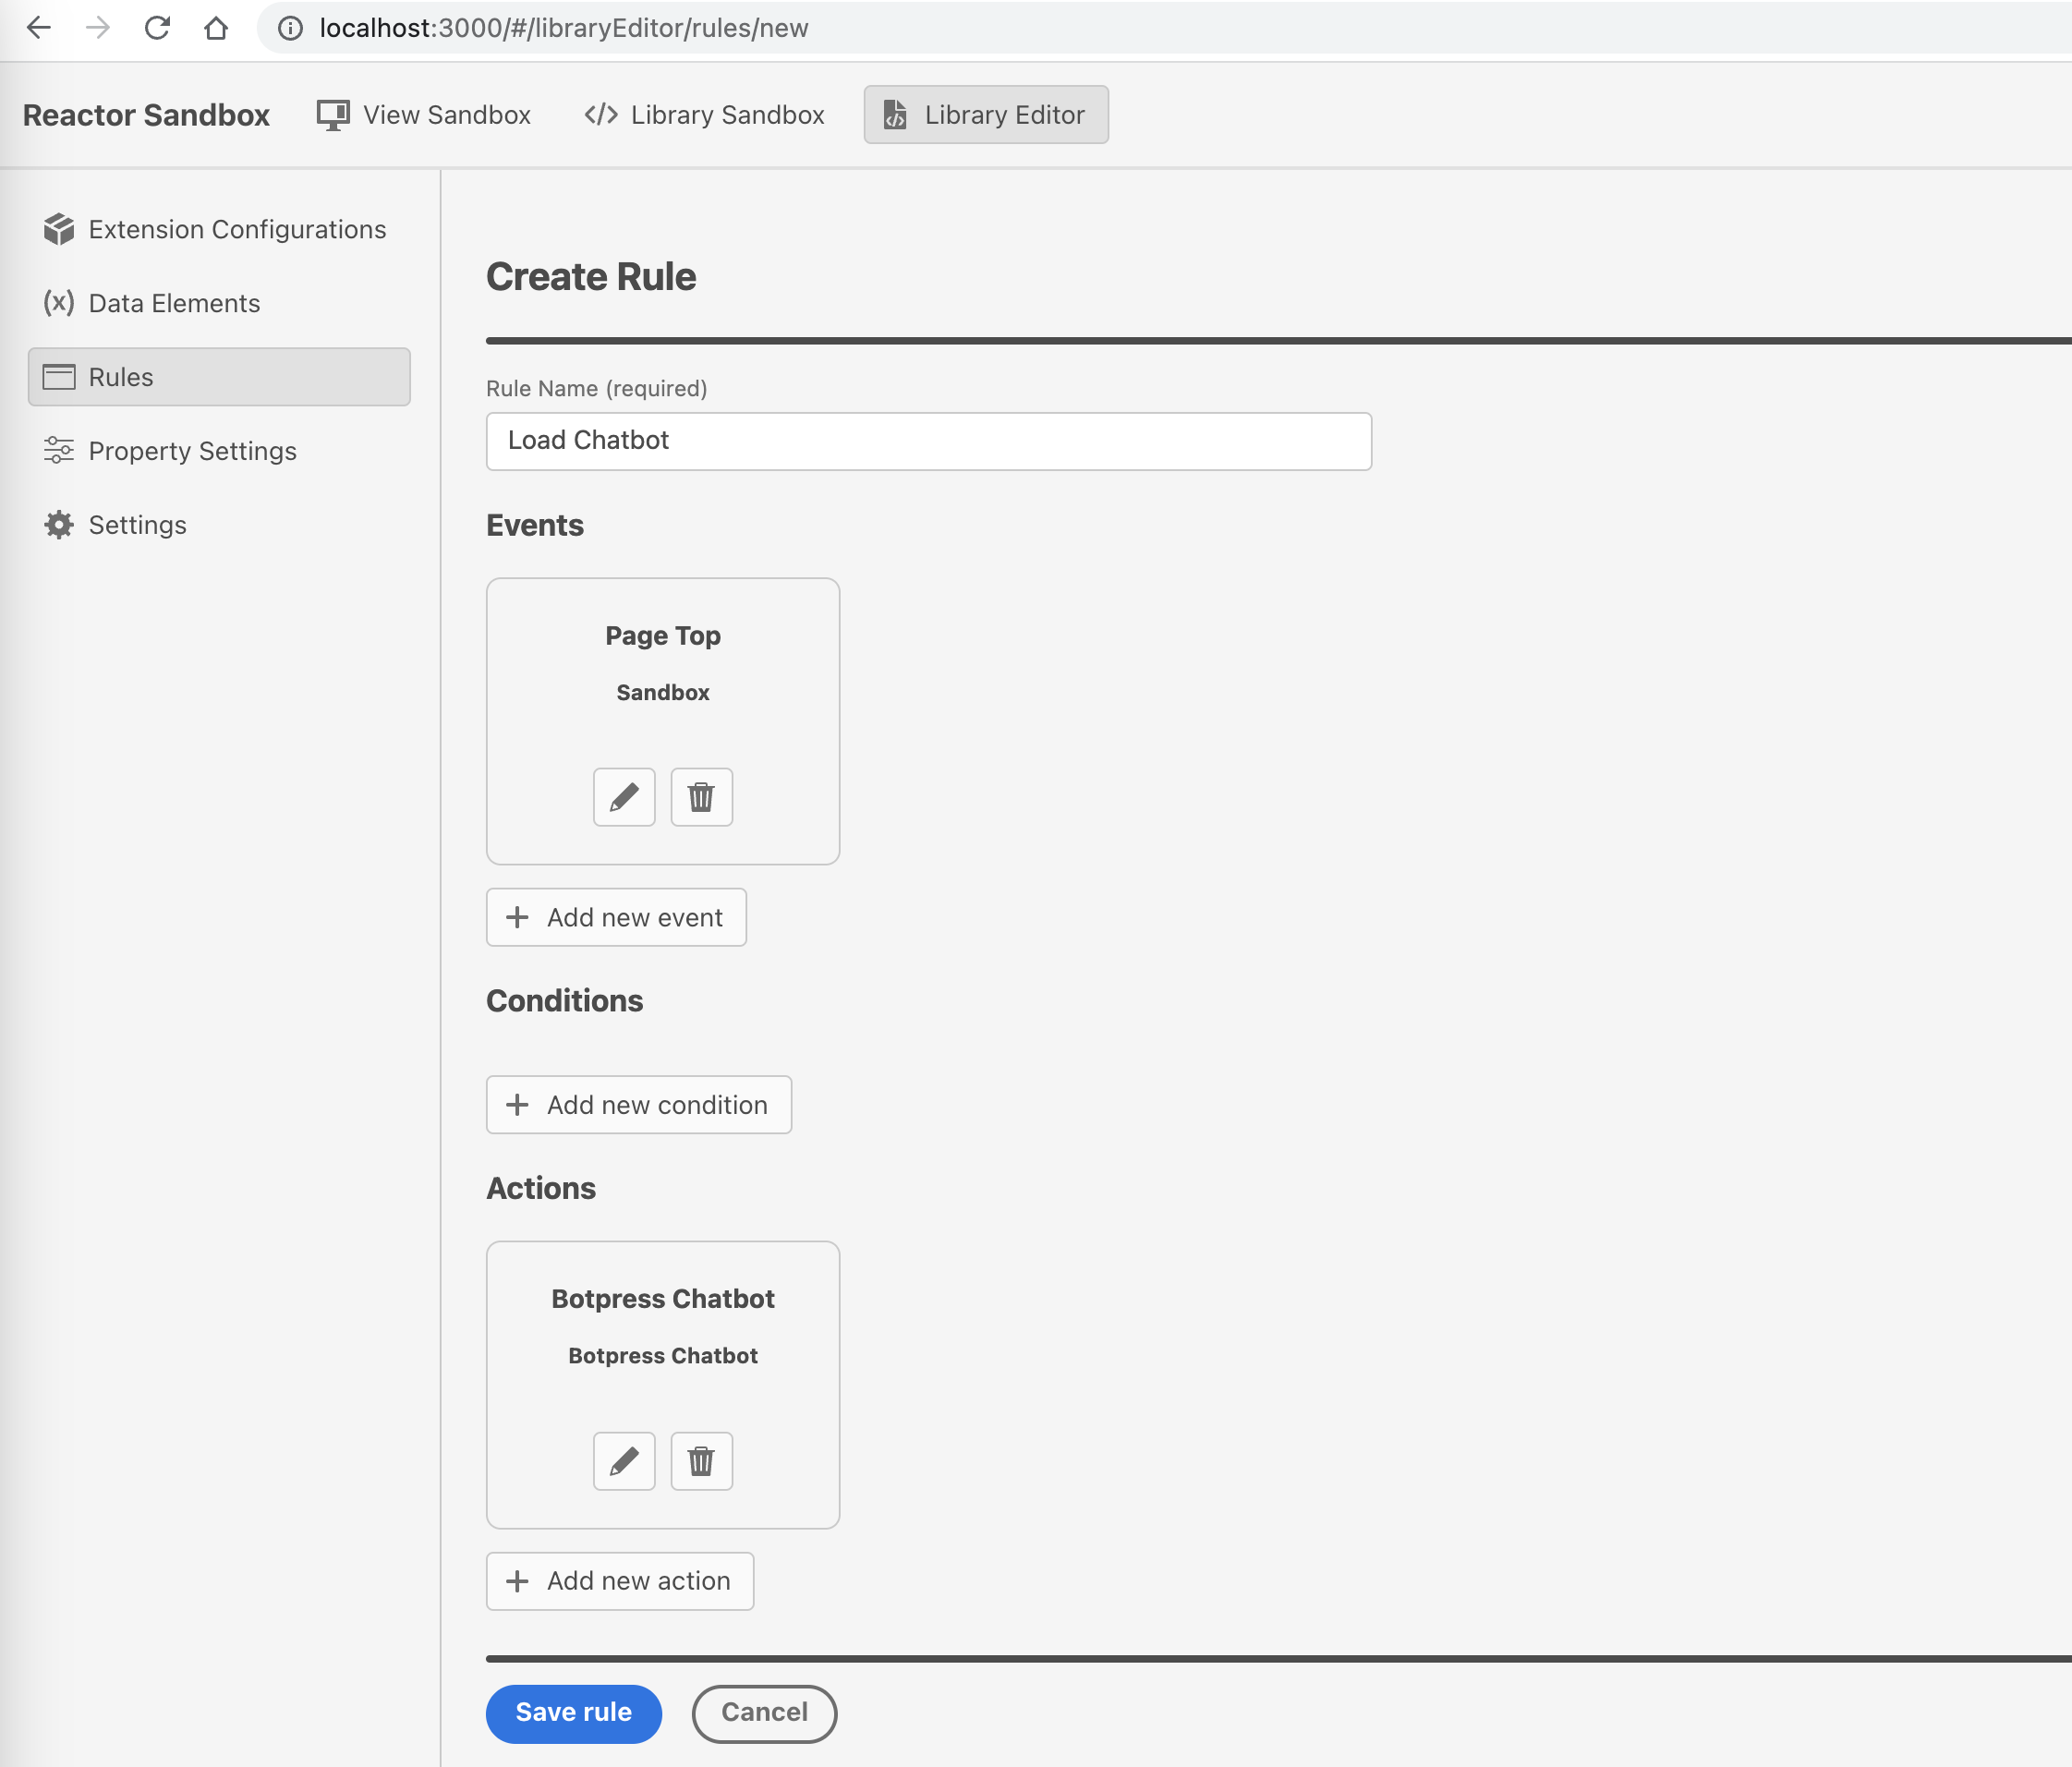
Step 9: Click Save rule will add the Rule for running our extension.
For more details about the Rule, refer to: https://experienceleague.adobe.com/docs/experience-platform/tags/ui/rules.html?lang=en
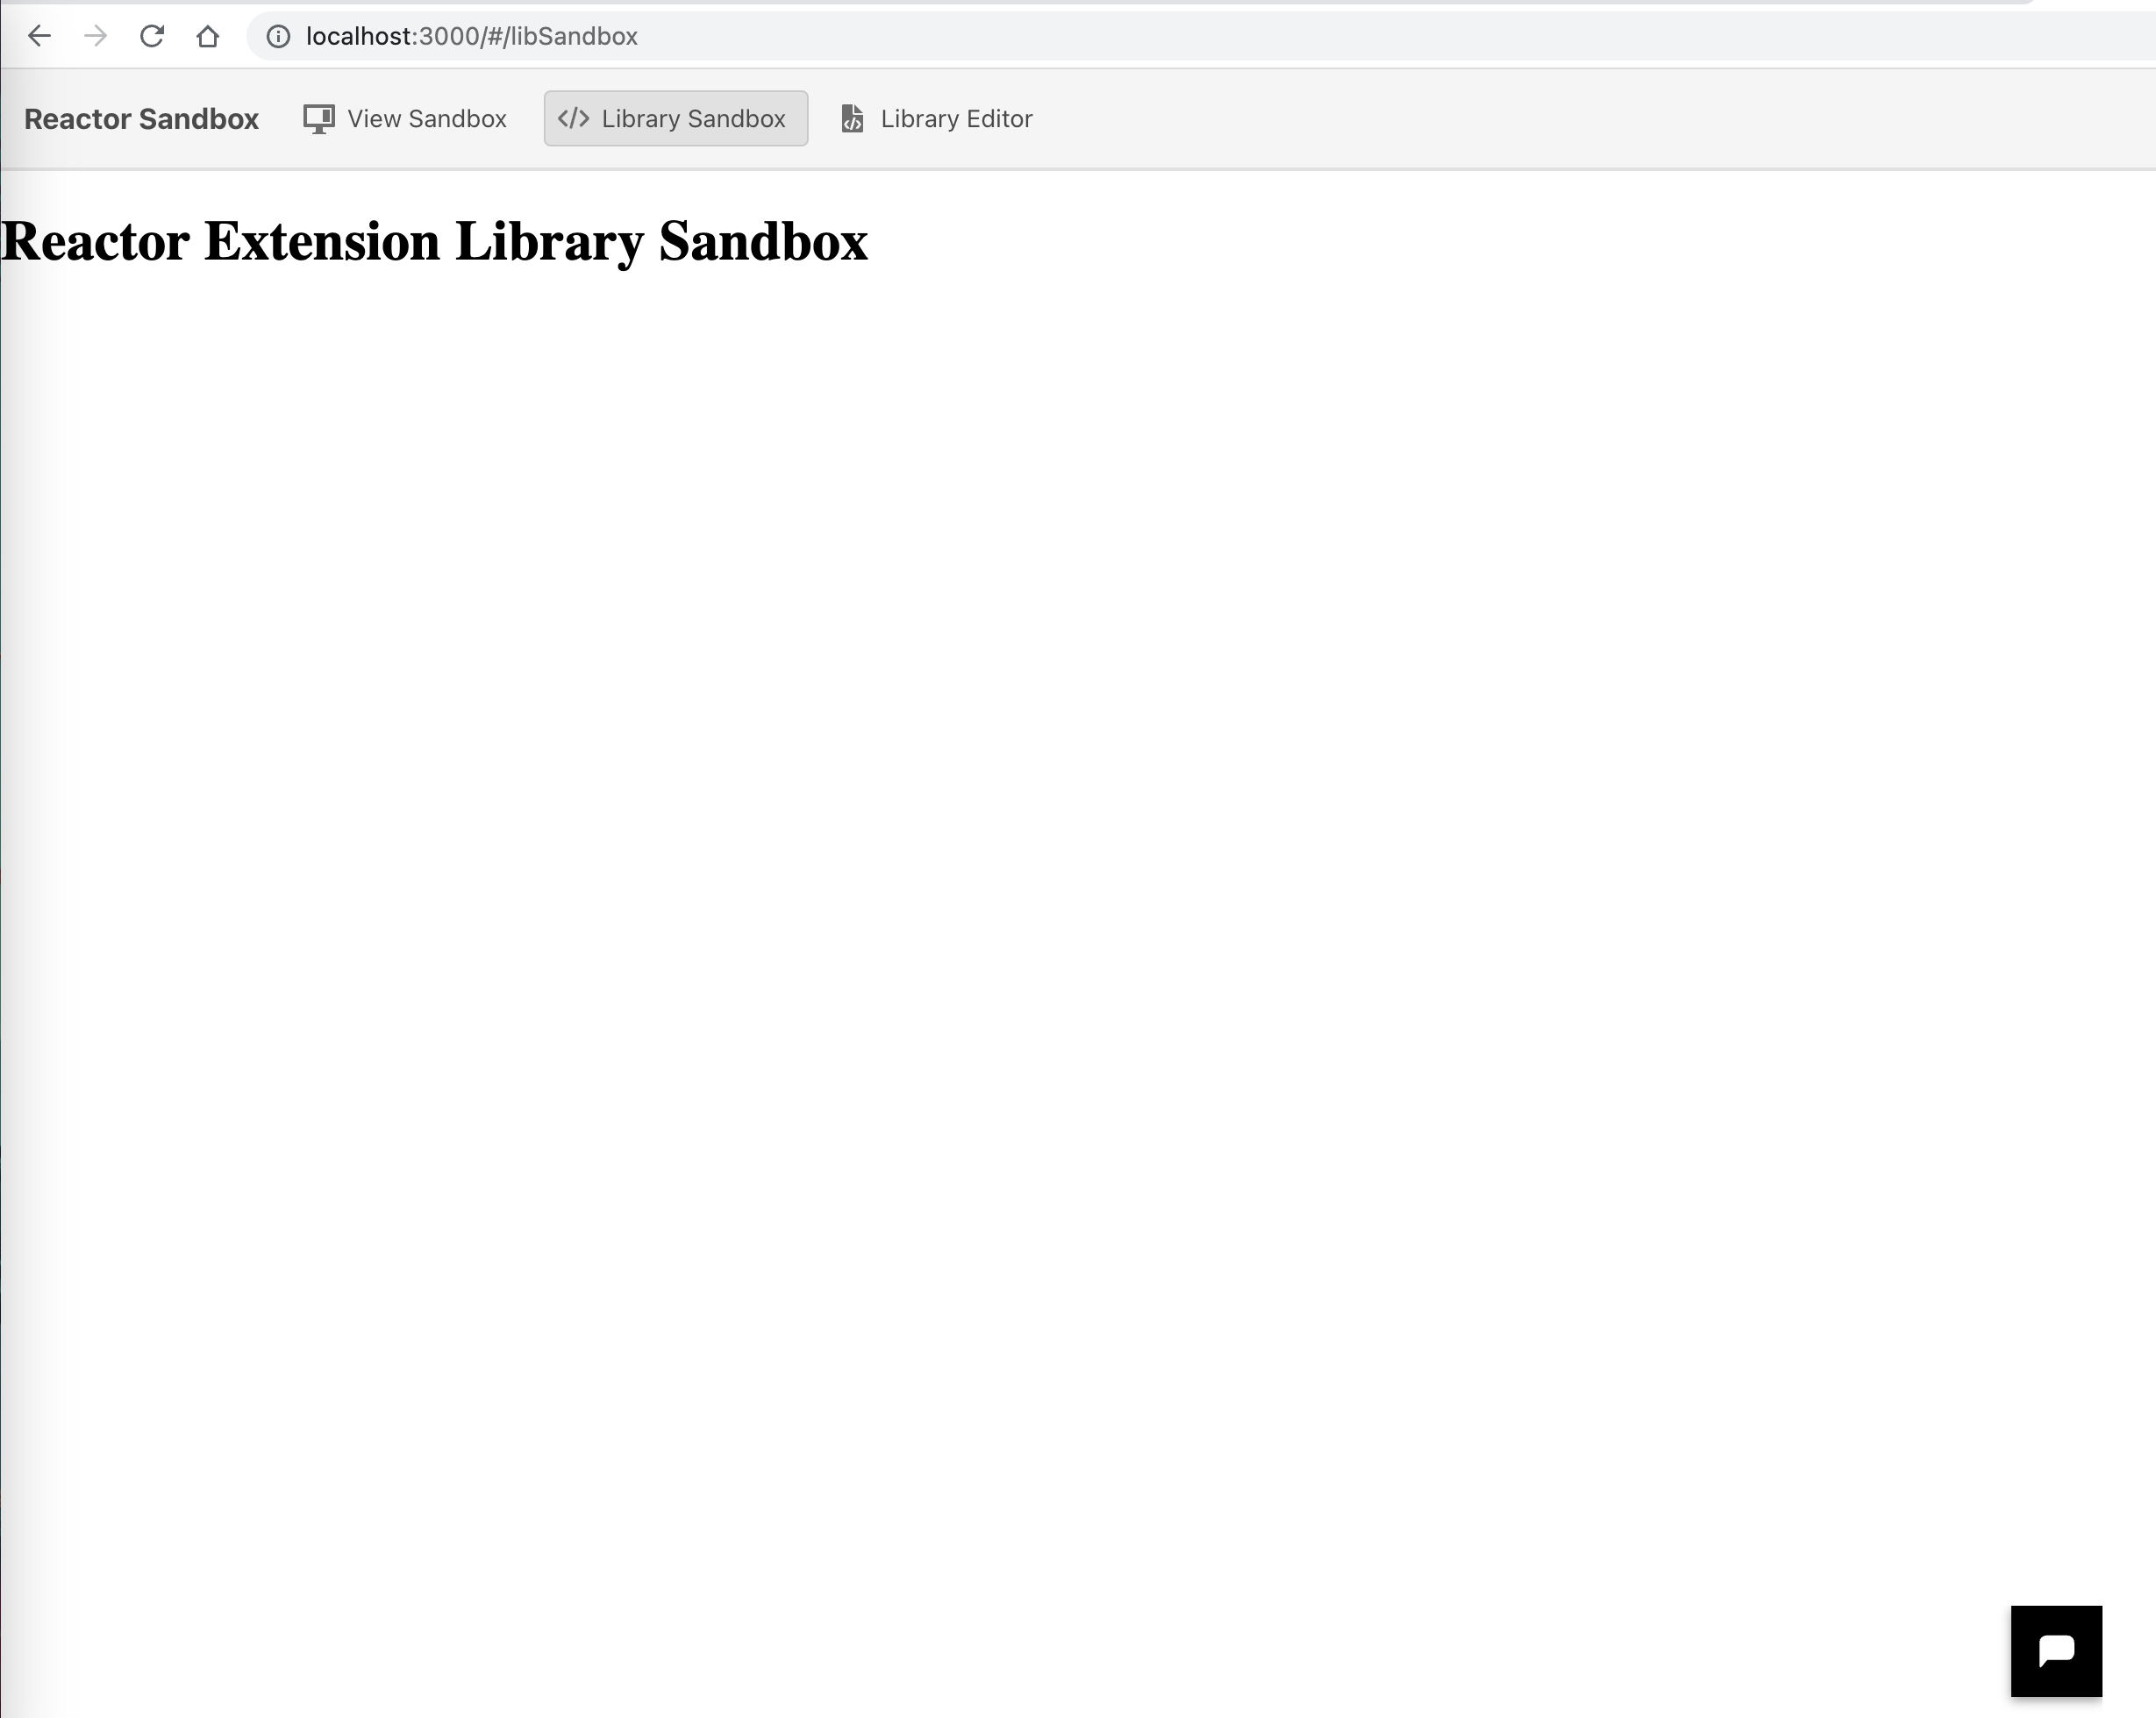
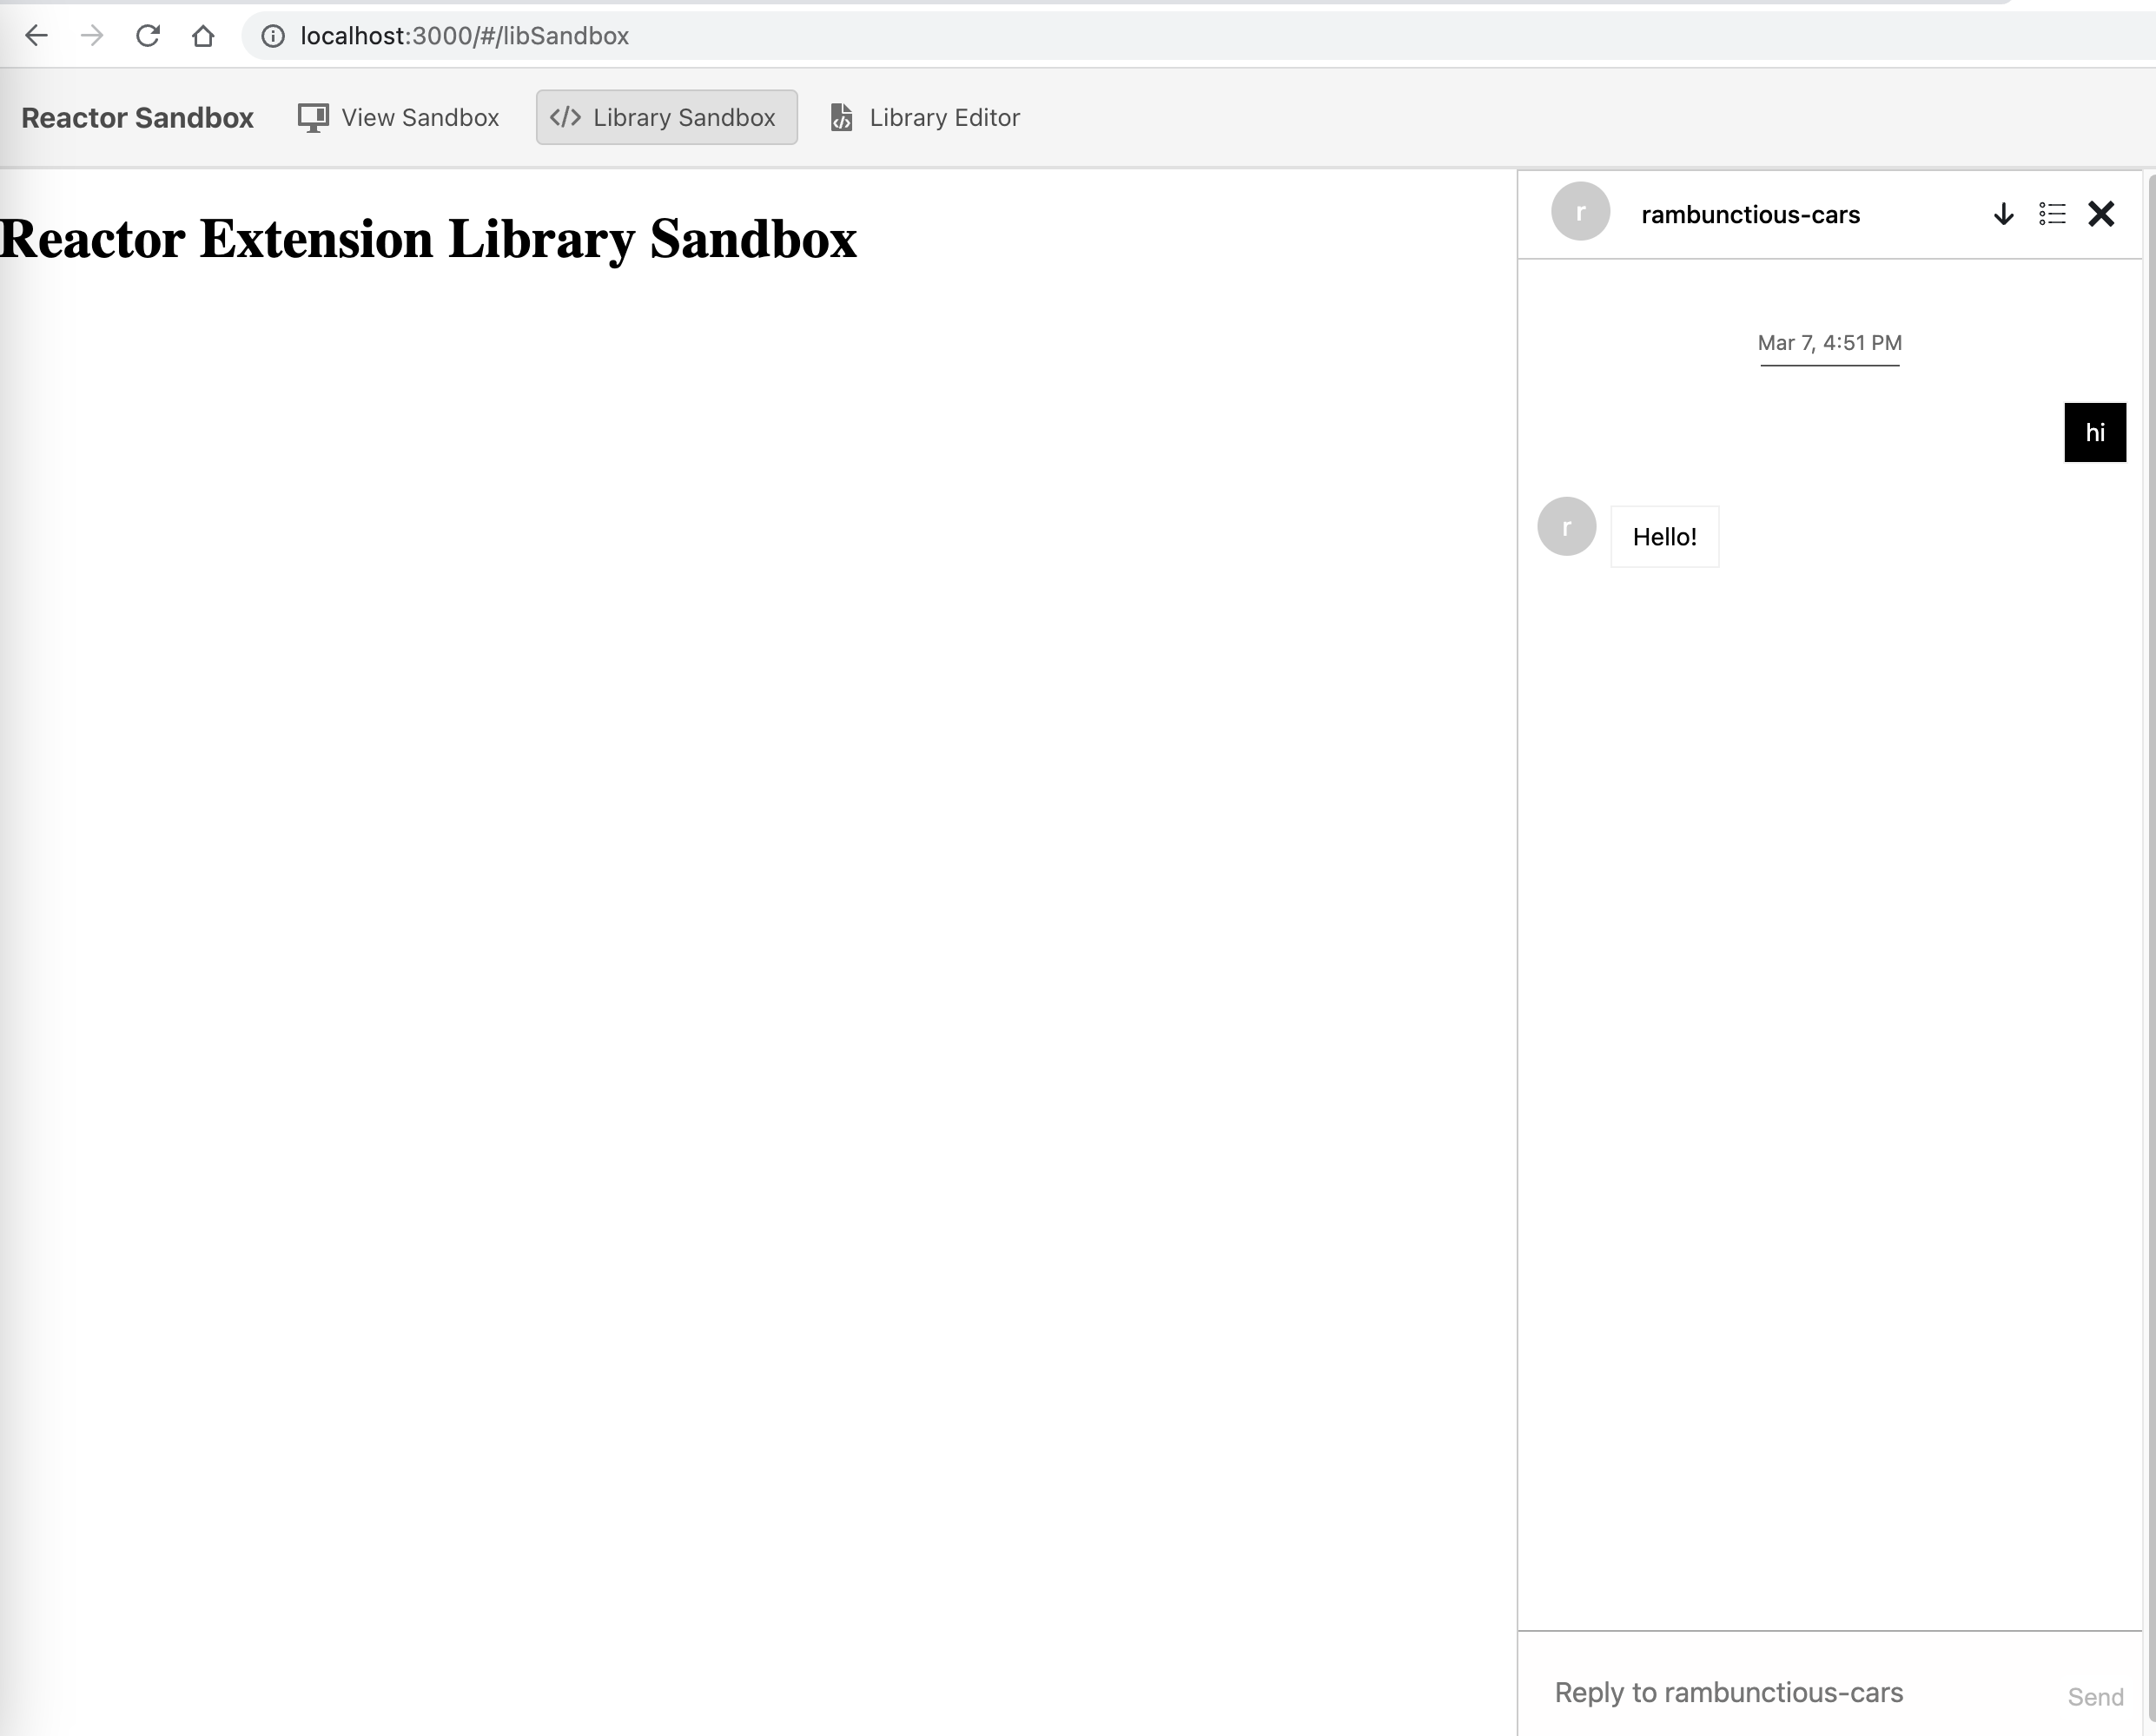
Step 10: Click on Library Sandbox, and the view opens, which shows the Botpress chat icon in the bottom right corner of the page.
This view allows you to test the logic for your extension.
Releasing to Adobe Launch
Once testing is done, you need to follow the below process sequentially to release your extension in Adobe Launch:
- Packaging Tool: https://www.npmjs.com/package/@adobe/reactor-packager
- Uploading Tool: https://www.npmjs.com/package/@adobe/reactor-uploader
- Releasing Tool: https://www.npmjs.com/package/@adobe/reactor-releaser
Conclusion
AEP Launch is incredibly useful and adds a degree of flexibility to an AEM implementation. Are you ready to create an extension of your own but wanting some advice? 3|SHARE will be happy to help with that or any other Adobe Experience Cloud needs. Contact us!
Topics: Digital Marketing, Professional IT Consulting Services, AEM, Adobe, Adobe Solutions Partner